Pasta with pomodorini confit, anchovy and mozzarelline

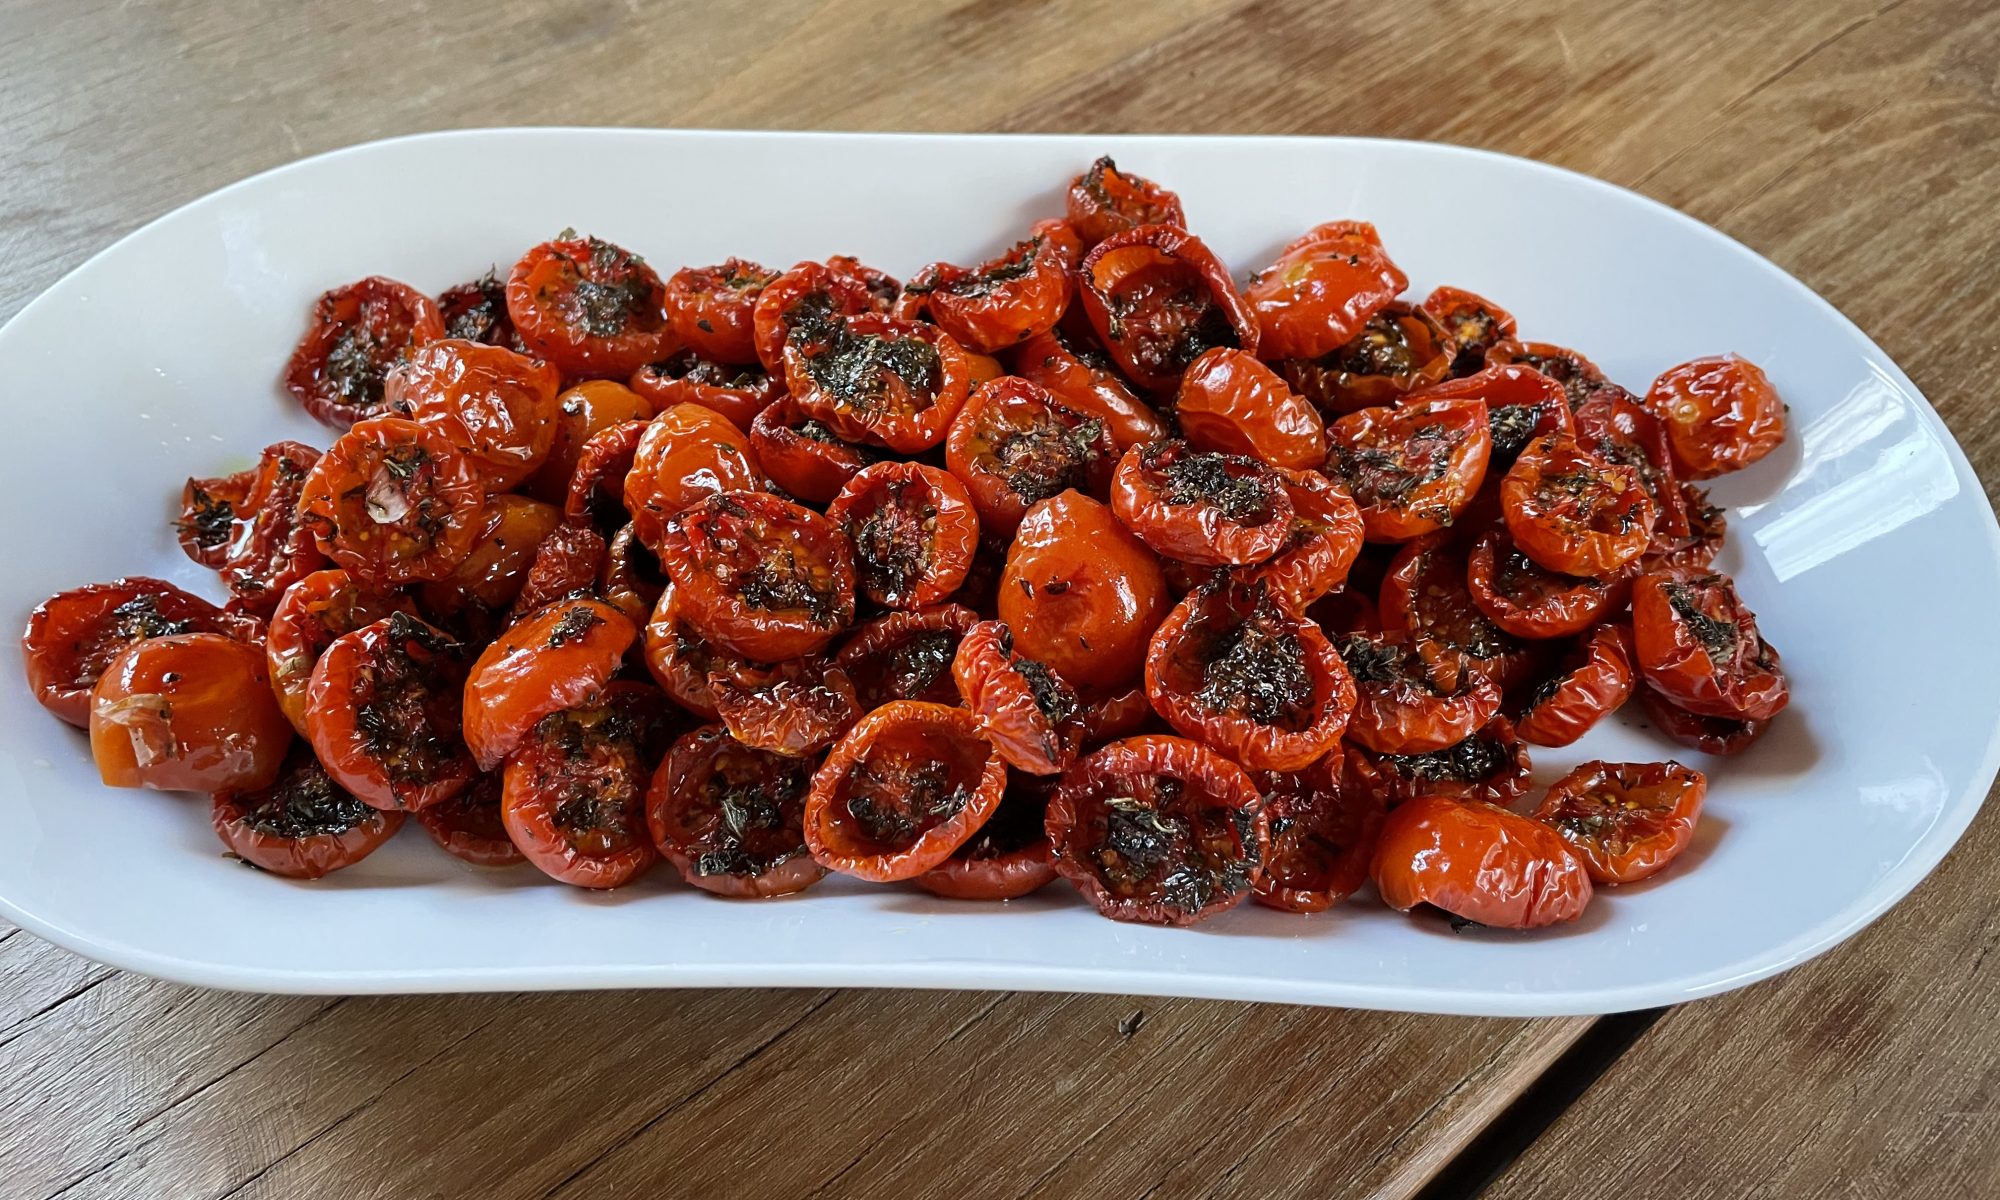
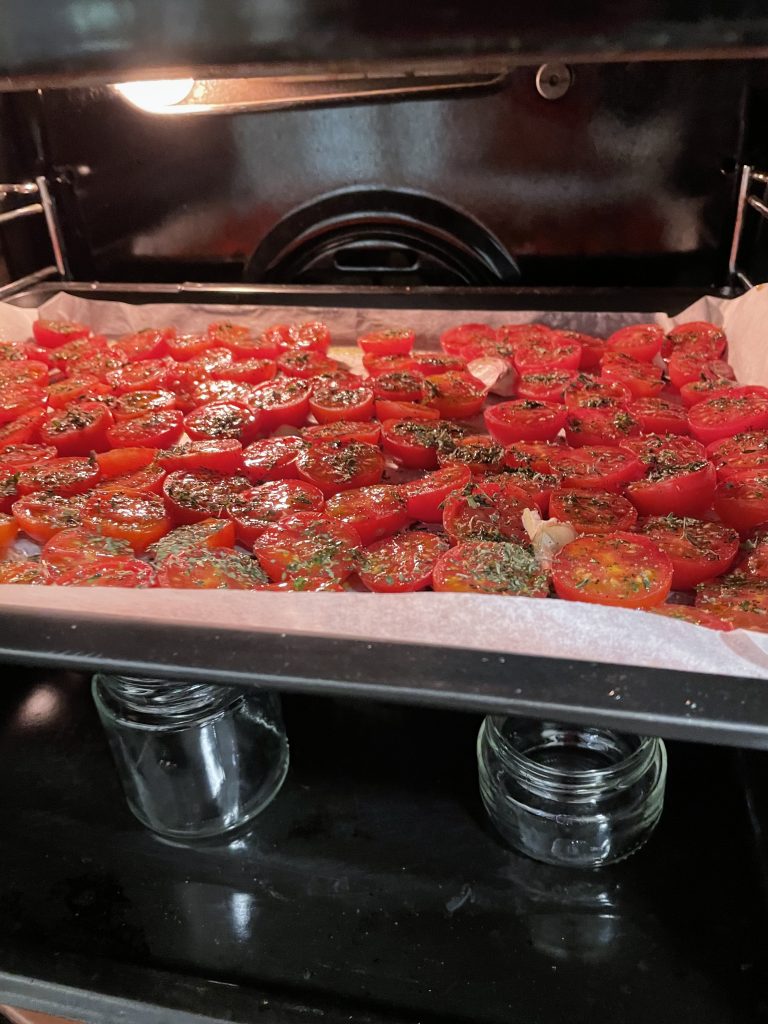
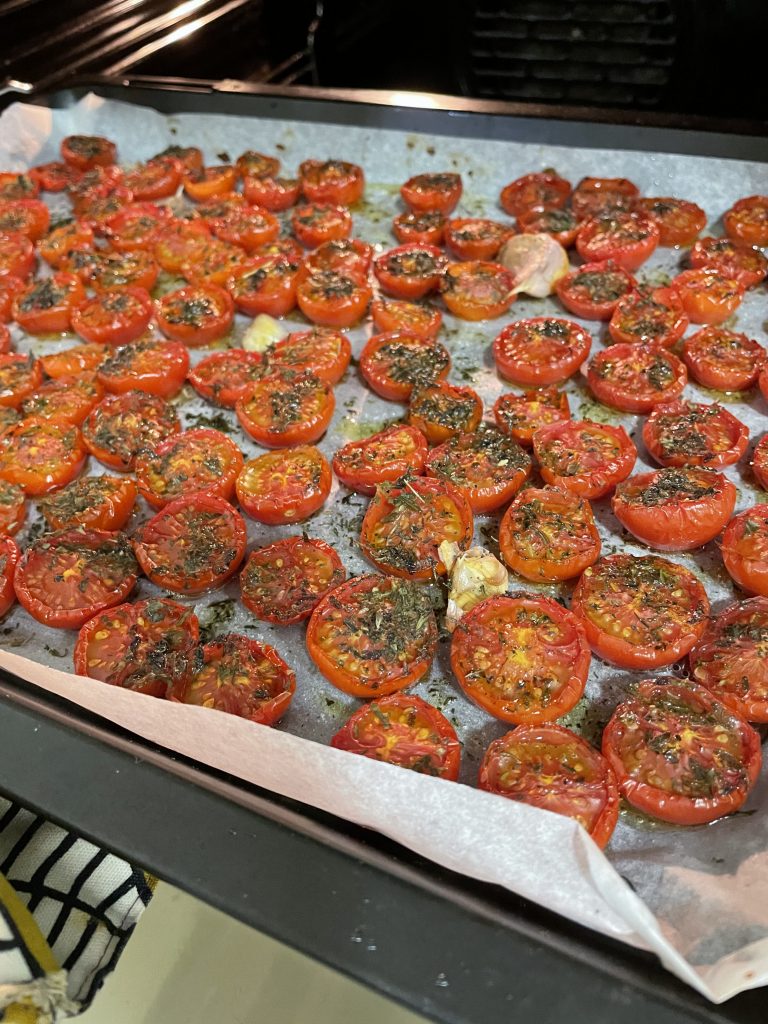
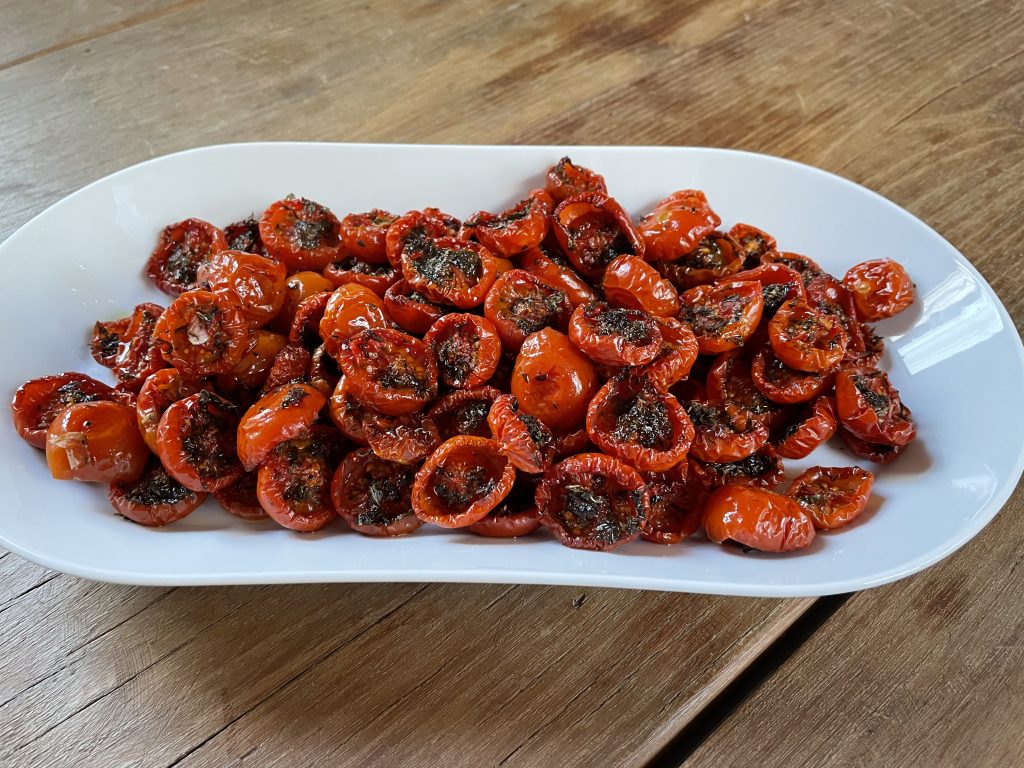
In this recipe I’m using the pomodorini confit from my previous post.

prep time 5 min     cook time 10-12 min
ingredients for 4
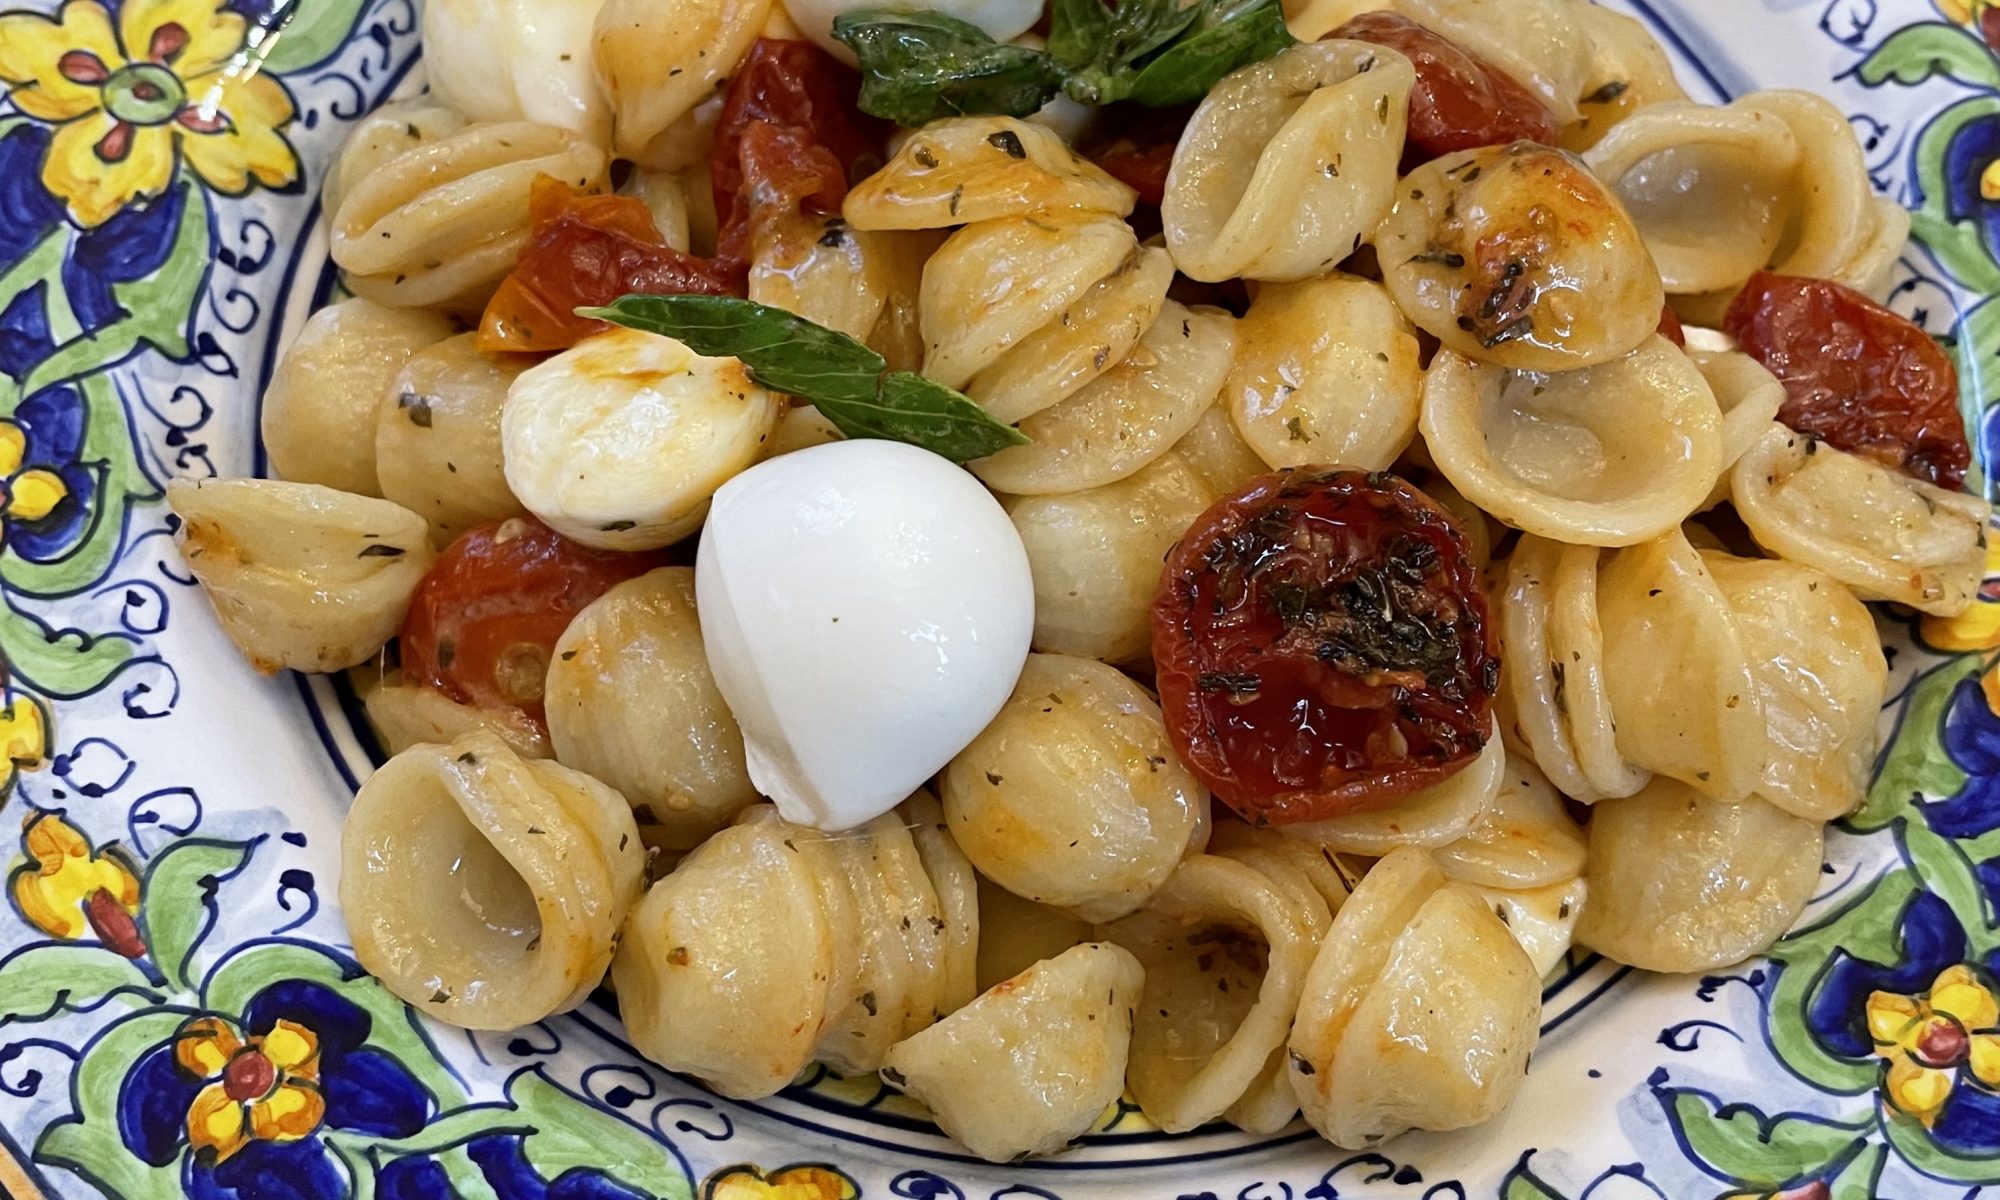
  • 400 g orecchiette pasta (farfalle, penne, rigatoni)
  • 4 anchovy fillets in oil
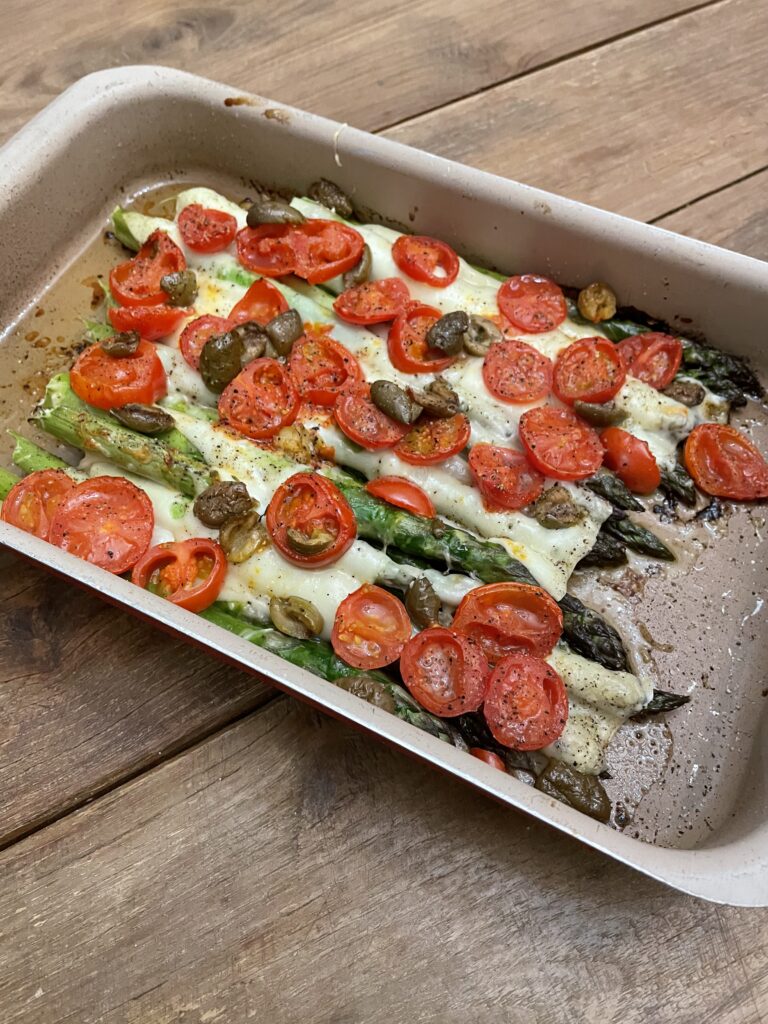
  • 400 g pomodorini confit
  • 150 g baby mozzarella
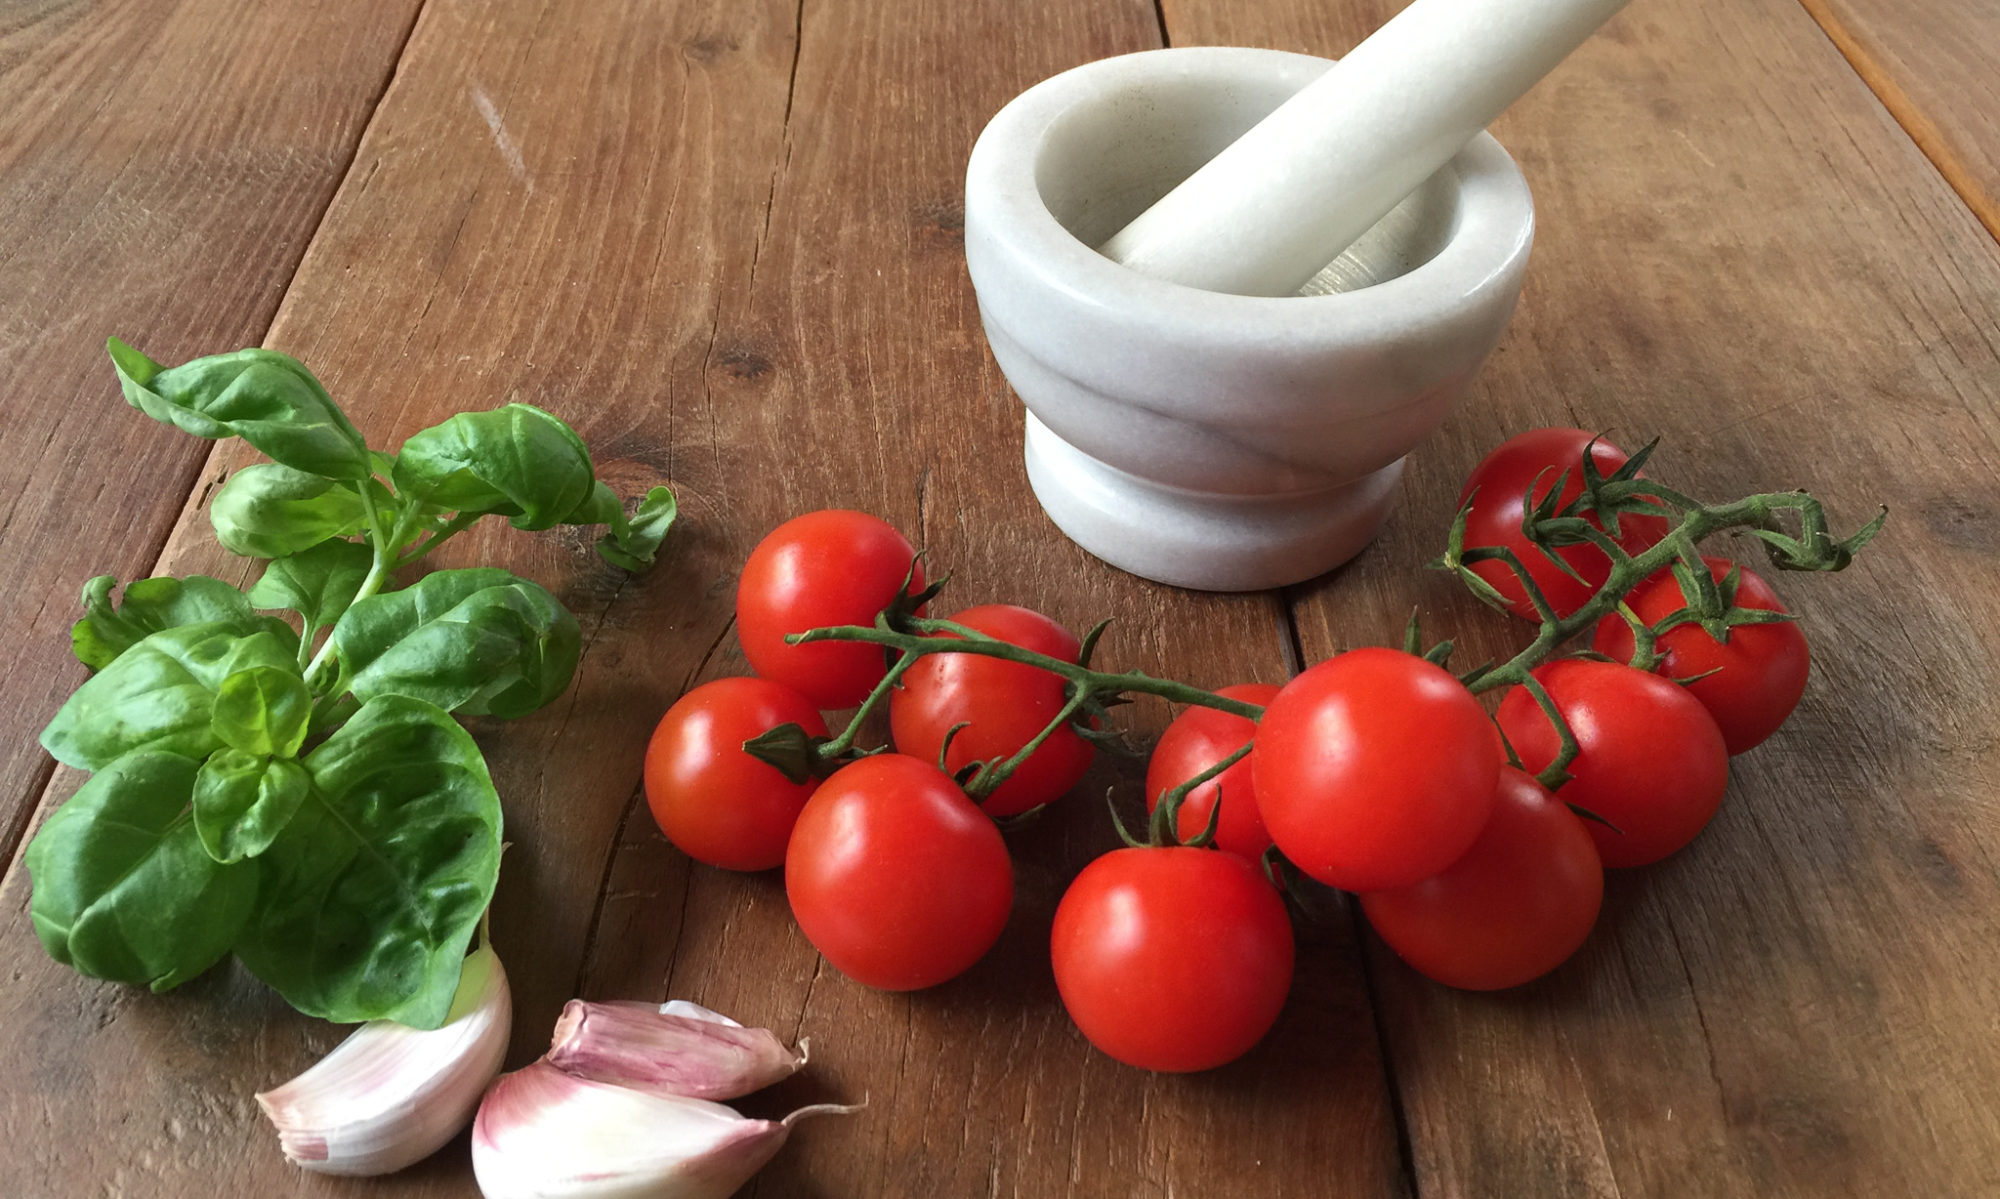
  • 1 garlic clove
  • 2 Tbls of extra virgin olive oil
  • a few basil leaves

1.  Cook the pasta al dente.

    2. In the meantime heat the oil in a large pan and add the garlic clove and the anchovy fillets. Let cook until the anchovy “melts”, then remove the garlic. Add a ladle of cooking water.
    3. Drain the pasta 2 minutes before it’s cooking time, add to the pan and cook for 1-2 more minutes.
    4. Transfer to a serving bowl, add the pomodorini and the baby mozzarella (you can also use a mozzarella cut into cubes), toss and add the basil leaves on top.


    BUON APPETITO!

Pomodorini confit (slow cooked cherry tomatoes)

These pomodorini confit, the slow cooked cherry tomatoes are used to accompany pasta dishes or to garnish many main courses. They can be offered also as an appetiser or a side dish or in panini or on bruschetta. You can also store them in the fridge in a glass jar, totally covered with extra virgin olive oil for about 2 weeks. Pomodorini confit are deliciously caramelized cherry tomatoes. The secret is to evaporate the water out of the tomatoes, without making them too dry. So you need to cook them at low temperature for 2 hrs.

prep time 10 min    cook time 90-120 min
ingredients for 1 normal size oven tray
  • 1 kg cherry tomatoes, or date or piccadilly or any kind of baby tomatoes as ripe as possible
  • extra virgin olive oil
  • salt and pepper
  • 2 Tbls sugar
  • fresh herbs like thyme, marjoram
  • oregano fresh or dried
  • 2-3 garlic cloves

1. Preheat the oven to 140°C (280°F). Set baking rack to middle position.

2. Wash the tomatoes,  pat dry and cut in half.

3. Place them cut side up onto a large baking tray, on top of parchment paper.

4. Sprinkle with salt and pepper, the herbs and a little bit of sugar on top of each one. Add the garlic cloves here and there, no need to peel them.

5. Drizzle with olive oil and place in the oven. (don’t mind the glass jars underneath the tray, I was sterilising them)

6. Bake for 2 hrs. The time depends on your oven and the size of the tomatoes.

This is after 90 minutes in my oven.

This is how they look after 2 hrs in the oven. NOW they are ready.

BUON APPETITO!

Penne pasta with asparagus and sausage

Delicate asparagus and strong savoury sausage is a perfect match. I recommend using Italian sausage but you may substitute it with turkey sausage ( I know, not the same thing). The dish is creamy without adding any cream. Yummy and healthy!

prep time 10 min     cook time 25 min
ingredients for 4
  • 400 g penne rigate (or rigatoni, farfalle, fusilli, tortiglioni)
  • 500 g asparagus
  • 300 g sausage, casing removed and crumbled
  • 1 small onion, diced
  • half a glass of white wine
  • 3-4 basil leaves
  • extra virgin olive oil
  • salt and pepper

1. Separate the top part (head) of the asparagus from the stem (approximately 5 cm or 2 inches) and chop the stems discarding the hard white ends.

    2. Heat a few Tbls of oil in a large pan and sauté the onion until translucent. Add the crumbled sausage to the pan and cook for a few minutes. Add the wine and cook for 5-10 minutes. Remove from the pan with a slotted spoon.

3. Add the asparagus heads to the pan and cook for 5 minutes. Remove.

    4. Add a little bit of oil and pour the chopped asparagus stems to the pan. Add a glass of boiling water and cook the asparagus for 10 minutes. In the meantime start cooking your pasta.
    5. Blend the cooked asparagus until creamy adding a dash of salt and pepper, 1-2 Tbls of oil and the basil leaves.
    6. Tip the sausages and asparagus heads, setting aside 8-10 of them, in the pan, add the cooked pasta al dente, swirl and add the cream little by little at the end. I added it carefully to the plate. Otherwise it becomes all mixed and mushy.
    7. Plate and place 2-3 heads on top.
    BUON APPETITO!

Cherry cake

This fluffy cherry cake is delicious. When in season look for  cherries that are bright dark red, shiny, plump, and quite firm and make sure there is no browning around the stems. Once we have the cherries, we need to remove the pits which is a tedious job but so worth it. Other than pitting the cherries, there’s nothing complicated in making this cake.

prep time 20 min     cook time 45-55 min

ingredients
  • 450 g cherries, pitted
  • 110 g flour
  • 70 g potato starch flour ( or corn starch)
  • 3 eggs
  • 150 g sugar + 2 Tbls
  • 80 g butter, melted or 75 ml oil (peanut, sunflower)
  • zest of one orange
  • 1 Tbls vanilla extract
  • 8 g baking powder
    1. Rinse, dry and pit the cherries and cut them in half.
    2. Pre heat oven to 180C.
    3. Butter and flour lightly a spring form pan, mine was 22cm,  and sprinkle 2 Tbls of sugar on the bottom and cover it with cherry halves.

    This is how it was explained in the original recipe and I followed it to a t. The end result was this, but I didn’t like it so I flipped the cake 🙂

4. Mix together the flour, potato starch and baking powder.

5. In another bowl beat the eggs, sugar, orange zest and vanilla until thick and light coloured. Pour the melted, cool butter beating with the mixer. Add the dry ingredients and beat lightly just so they are mixed.

6. Pour the batter into the baking pan on top of the cherries. Add the rest of the cherries on top. Some of them will sink into the batter.

7. Bake for 45-55 min or until a toothpick comes out clean.

I don’t know about you, put I prefer this to the “bottoms up” version. But hey, the taste is the same.

Tip: A common problem when adding a heavy fruit like cherries to a cake batter is that the fruit tends to sink to the bottom of the pan during baking. While this in no way affects the flavor of the cake, it does not allow us to appreciate the cherry’s full beauty. One way to avoid the sinking is to add the cherries on top of the batter like in this recipe, or mix a part of them in the batter and add the rest after the cake has baked about 15 minutes.

BUON APPETITO!

Easy cheesy roasted asparagus

Asparagus is in season now so we eat it a lot. Usually boiled and tossed with olive oil and lemon juice, but I wanted to try a new recipe. It was a hit in my house. You don’t need to peel the green asparagus or trim any other part. To remove the woody ends simply line them up and slice 2-3 cm or bend and snap. The choice is yours.

prep time  5-10 min     cook time 15-20 min

ingredients
  • 500 g asparagus, ends snapped
  • 250 g cherry or plum tomatoes, halved
  • 100 g mozzarella or Gruyere cheese
  • 3-4 Tbls extra virgin olive oil
  • salt and pepper
  • dried origano
  • handful of olives
    1. Preheat oven to 200C.

2. Spread the asparagus, evenly, in a single layer on a baking tray and place the cheese on top. Add the tomatoes and oil and sprinkle with salt and pepper. Lastly add the olives and some origano.

3. Pop in the oven at 200c for about 15 min, or until just starting to wrinkle and soften. I like my asparagus have a little bite, but if you prefer them thoroughly cooked, bake a couple of more minutes. The cooking time depends also on the size of the asparagus.

BUON APPETITO!

Lemon muffins

I love lemon in desserts, lemon on meat and fish, limoncello so I had to try these simple fluffy lemon muffins. They are even more delicious with the lemon drizzle topping. They turned out way better than my first attempt at muffins. They were really good: moist and fluffy and lemony 🙂

I also learned a valuable trick. You don’t need a mixer to make these muffins. They are made by using the muffin method, which means mixing the dry ingredients in one bowl, the liquids in another bowl and then combining the two together with a spoon or a spatula. No beating required.

prep time 15 min     cook time 20 min
ingredients for 12 muffins
for the muffins
  • 250 g all-purpose flour
  • 1 1/2 tsp baking powder
  • 1/2 tsp baking soda
  • 1/4 tsp salt
  • 135 g sugar
  • 2 eggs
  • 125 g  plain yogurt
  • 85 g butter, melted
  • zest and juice of one lemon
  • 1/2 tsp vanilla extract (optional)
for the lemon glaze
  • 120g powdered sugar
  • 2-3 Tbls lemon juice
    1. Preheat oven to 220 C. Butter 12 muffin cups or line them with liner paper.
    2.  In a large bowl sift together flour, baking powder, baking soda and salt and mix in the sugar and lemon zest.
    3. In a medium bowl whisk the eggs with the yogurt, melted butter, lemon juice and vanilla extract, if using, just until combined. Pour the wet ingredients into the dry ingredients and stir with a spoon or a spatula just until combined. Do not over mix. The batter should be thick and lumpy.
    4. Divide the batter evenly between the muffin cups almost all the way to the top.
    5. Bake for 3 minutes and then reduce the oven temperature to 180C and continue to bake for additional 15-17 min or until the toothpick comes out clean. Cool for 10 minutes and then move to a wire rack to cool completely.
    6. For the lemon drizzle topping sift in a small bowl the powdered sugar. Add lemon juice until you achieve desired consistency (pourable).
    7. When the muffins are cooled, pour the drizzle over the muffins.

Tip:  I prefer to butter or oil the muffin tray and put the muffins into pretty liner paper cups after baking them. Otherwise they stick to the paper.

    Tip: the muffins are best the same day they are made but can be stored in an airtight container in the fridge for up to 3 days, or they can be frozen for a few months.
    BUON APPETITO!

Chicken piccata

Chicken piccata hides behind a fancy name simply chicken breast cutlets, dredged in seasoned flour, browned and served with a sauce of butter, lemon juice, capers and white wine. If you buy capers in brine, make sure to drain the liquid before adding them to a recipe; and if your capers are packed in salt, give them a rinse and a soak in water for 15 minutes.

prep time 5 min     cook time 15-20 min
ingredients for 4
  • 600g boneless, skinless chicken breast halves or cutlets
  • 30g flour
  • 10 g grated Parmigiano
  • 4 Tbsp butter
  • 3 Tbsp extra virgin olive oil
  • 100 ml white wine
  • juice of half a lemon
  • 3 Tbsp capers
  • salt and pepper
  • optional: parsley

1. Slice the chicken breasts into cutlets and pound them lightly in between parchment paper until an even thickness, about 1 cm.

2. Mix flour, Parmigiano, salt and pepper and toss the cutlets in the flour.

3. Heat oil  with 2 Tbsp of butter in a large skillet over medium-high. Working in batches if needed to avoid overcrowding the pan, cook cutlets, without moving them, until browned underneath, about 2-3 minutes. Turn over and cook on the other side for another 2 minutes. Transfer to a clean plate.

4. Now add the wine, lemon juice and the capers and cook, swirling pan and scraping up any browned bits stuck to the bottom of skillet, until liquid is almost completely evaporated, about 2 minutes. Add the remaining butter and swirl pan while butter melts about 1 minute.

5. Return the chicken to the pan and let simmer for a minute or two.

6. Plate and serve immediately (topping with parsley).

BUON APPETITO!


Ricotta rustic pie

Spinach ricotta rustic pie makes a yummy light dinner or a fantastic appetiser.  If you are looking for something light and meatless, this pie is perfect.

prep time 10 min     cook time 30-40 min
ingredients
  • 1 pre-made puff pastry
  • 300g spinach, cooked to wilt
  • 1 Tbls olive oil
  • 250g ricotta
  • 60g Parmigiano, grated
  • salt and pepper
  • 1 yolk + a dash of milk

1. Preheat oven to 180 C

2. Roll out the pastry dough and place it in a lightly greased round pan.

3. Cook the spinach in oil for 10 min to wilt. Add some salt. Then drain well.

4. Mix in a bowl ricotta and Parmigiano and add the well drained spinach, a dash of salt and some pepper.

5. Place the filling onto the pie crust and brush the dough with a beaten yolk and milk mixture.

6. Bake in a 180 C oven for 30-40 min until the crust is golden.

BUON APPETITO!

Strawberry cheesecake

Another favourite of mine is the strawberry cheesecake. With a creamy filling and a buttery biscuit base, who can resist this classic dessert?

prep time 20 min  + refrigerating time 4 hrs
ingredients
for the crust
  • 200g Digestive biscuits
  • 100g melted butter
for the filling
  • 10 g gelatine sheets
  • 250g cream cheese
  • 250g whipping cream
  • 250g strawberry yogurt
  • 90g powdered sugar
for the topping
  • 500g strawberries
  • 2 Tbls sugar + 1 lemon for juicing
  • 70g sugar
  • 30g corn starch

1. Clean and chop the strawberries, add 2 Tbls of sugar and the lemon juice and let marinate, preferably overnight.

2. Line a 26 cm round springform pan with a baking paper on the bottom.

3. Crush the biscuits in a bag with a rolling pin into a fine crumb. Transfer the crumbs to a bowl, then pour over the melted butter. Mix thoroughly until the crumbs are completely coated. Tip them into the prepared tin and press firmly down into the base to create an even layer. Refrigerate for 15-20 min.

4. Put the gelatine sheets in a shallow bowl with cold water.

5. Whip the cream cheese together with the yogurt and the cream, add the powdered sugar and whip some more.

6. Squeeze the gelatine sheets and place in a small pot with a few Tbls of water. Turn on the heat to low and let the gelatine melt, about 1 minute. Add this to the cream and pour the filling over the crumb base. Let refrigerate for 3 hrs.

7. After 3 hrs, separate the juice from the strawberries and add water to make 400 ml of diluted strawberry juice. Place it in a pot on a stove top, add 80 g of sugar and 30g of corn starch and keep stirring for 4-5 minutes.

8. Add the juice to the strawberries and pour the mixture over the cake. Let set for 1 hour in the fridge.

BUON APPETITO!


Lemon chicken soup

This chicken soup uses lots of lemon and feta cheese so you might call it Greek-inspired. Easy and fast to make, and so so good with lemon, feta and peperoncino to give it some heat.

prep time 10 min     cook time 20 min
ingredients for 4
  • 500g skinless, boneless chicken breast
  • 2 l chicken broth
  • 1 sweet onion, thinly sliced
  • 3-4 garlic gloves, minced
  • zest and juice of 1 lemon
  • 2-3 cm piece of ginger, grated
  • peperoncino flakes
  • salt
  • 2 Tbls extra virgin olive oil
  • 1 avocado
  • 150g feta cheese, crumbled
  • fresh thyme
  • 130g short angel hair pasta or 2 dl pearl couscous

1. Place olive oil in a large pot over medium low heat. Sauté onion, garlic and peperoncino (the amount is up to you) for a few minutes and then add grated ginger.

2. Add the broth, the zest and the chicken breasts to the pot. Season with salt. Increase the heat to high, cover, and bring to a boil. Reduce heat to medium and simmer for 5 minutes. You can add the pasta or the couscous now and let cook for 5 more minutes. If making this amount but using only a portion, I suggest adding the pasta at the end to the amount of soup you are using, otherwise the pasta or couscous become mushy.

3. Turn off the heat. Remove the breasts from the pot and shred the chicken using two forks. Return to the pot and add the lemon juice.

4. Ladle into the soup bowls and decorate each bowl with 1/4 of avocado slices, 40 g of crumbled feta and some fresh thyme.

5. The soup keeps well in the fridge for 3-4 days without the pasta or couscous.

BUON APPETITO!